First off, here's one of my finished Scout snipers:
 |
| Tango sighted. |
 |
| I think the auto focus decided his crotch was important. |
 |
| Glassy goodness |
 |
| Cloaked. |
So like I said last post, I wanted to really go all out with the Centurion kit (especially because its was so many dollars!). These guys have a bonkers amount of weapon options that make them well suited to blowing up just about anything in the 41st millennium. For $78, I sure as hell wasn't going to miss out on the opportunity to shoot every gun they have.
So here are all the guns and the points they will mount on for a single centurion:

The chest weapons no longer sit as recessed as they were designed to be but this serves a practical purpose. If they were sunk that deep, it would be impossible for me to remove them and switch them out for other guns.
After I installed the arm magnets, I dabbed a little brightly colored paint over the magnet and quickly pressed it against a weapon option. This marked where the weapon's counterpart magnet should be installed.

As you can kinda see, I had already mounted some magnets in the chest gun cavities when I took this picture. I also had magnetized all of the chest weapon options. Here are some of them magnetized in place:
 |
| Missiles. |
 |
| Sextuple Pits to Chesty |
Now onto the ridiculous bit- magnetizing every set of arm mounted weapons.
The first thing I did was find a spacious enough mounting space on their arms that would align with an equally spacious spot that all of the weapon options had in common. This was to ensure there was enough room on all components to accommodate my smallest rare earth magnets. I believe I'm using the 1/16th x 1/32nd magnets from K&J Magnetics.
 |
| A little dab will do ya. |
After I installed the arm magnets, I dabbed a little brightly colored paint over the magnet and quickly pressed it against a weapon option. This marked where the weapon's counterpart magnet should be installed.
 |
| I can't help that I have beautiful hands. |
 |
| I also can't help the pure testosterone that causes such a manly beard to spring from my face. |
 |
| A hole. |
After making space for the magnet, I used my handy dandy magnet want to grab and place these frustratingly tiny magnets. I saw this idea in a youtube tutorial. You glue a magnet to either side of a scrap piece of sprue, making sure each side has a different pole facing and that they are properly labeled. This saves on lots of yelling and ripping apart models to extract super glue encased mistakes. Not that there wasn't any of that.
 |
| Grab that bitch. |
 |
| A little dab still does it. |
 |
| Stick it and slide away before magnets and super glue team up to ruin your shit. |
 |
| Magnets, bitch. |
Here's some guns that magically attach themselves to arms!


I also magnetized all of the Xzibit guns (Yo dawg, I head you like weapon options...) that mount on top of the siege drills. These dudes are silly.
Lastly, what's a dope model without an equally dope base? Garbage. Thats what.
I finally got around to using some of my Citadel Basing Kit city fighting rubble resin bits I bought way back in 2007(8?). To properly work them in, I chose to forgo the tiny slate I've been using and used textured green stuff instead. I found this process to be a lot more time consuming but definitely more controlled.

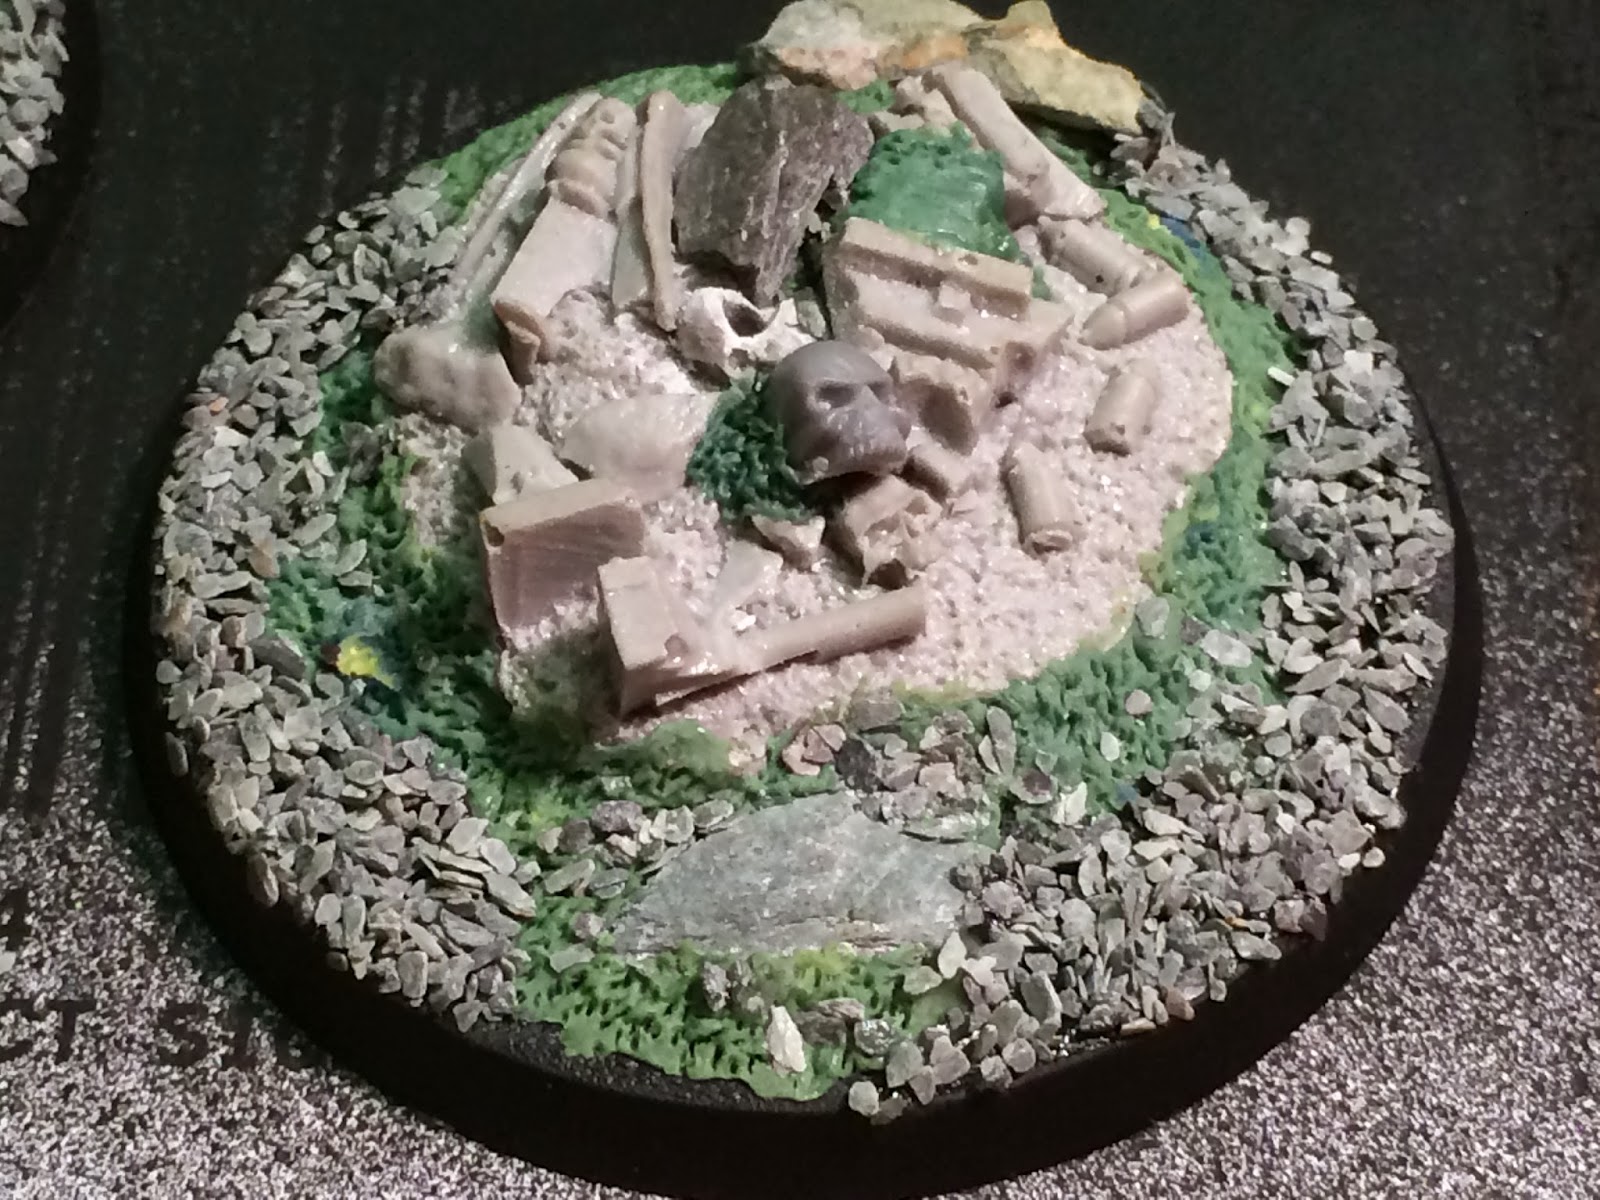

These had a bit more work done to them after they were photographed. After they were primed, the textured green stuff looked super close to the sand texture you see incorporated in the rubble resin bits and blended in perfectly.
Here is one model's worth of weapons as well as the legs, heads, and torsos of all the Centurions prepped for priming. I had to do them in batches to make sure they stayed separated by model. The guns are specific to each set of arms.
You will note that these models are largely unassembled. This is due to my OCD nature of needing to paint EVERYTHING- even the stuff that will end up being thoroughly obscured. Whatevs. It makes me happy inside.
 |
| Also pictured: A sneak peak of my Lightning Claw Captain |
In other hobby progress news, I just scored a sweet bundle of 3rd party Space Marine accessories to up the Machine Cult angle of my home brewed Chapter. I got some sweet bionic arms and cog themed weapons by Max Mini as well as some sweet bionic leg sets by Kromlech- all of which were acquired at Game Kastle in Fremont, Ca, aka Heaven.
There has been a lot of other progress since my last post but it will be a lot more interesting once I get the chance to take some accompanying photos. Suffice to say, I am fully pumped about restarting the hobby and have been at it non stop. I will post much more progress soon!
For now, here are my upcoming goals:
1. Finish painting and assembling at least one Centurion this week.
2. Finish rearranging my work space. I finally cleared out a ton of shit around my desk and will soon have a dedicated hobby work station that isn't in the kitchen.
3. Get the snow down! I received my order from Secret Weapon. I want to grab some good work gloves and a mask before I start messing with glass powder.
4. Finalize the fluff and chapter symbol for my home brew marines. I've been tossing around ideas in my head for names and insignia. I think once I establish their history, the details will come more naturally. Perhaps I'll make a post with their lore once it is more solidified.
On an officious note, I hereby proclaim that Sundays shall hence forth be my blog post day (even though at the time of writing, it is technically Monday).
Can't wait to see what friendship and hobby time brings this coming week!